by Hannah Thrash
Fun Rating: 3/5
Difficulty Rating: 4/5
What is the general purpose? Endogenous co-immunoprecipitation is a mouthful to say! So, let’s break it down. “Co” means together. “Immuno” refers to the use of antibodies, while precipitation means to pull something out of a solution. Together, they mean a technique where we use antibodies to pull proteins out of the cell with anything attached to them. A co-immunoprecipitation is endogenous if we pull out proteins normally found in the cell. (Yes, there is such a thing as adding non-naturally occurring proteins to a cell, but that’s a conversation for a different time!)
Why do we use it? We use a co-immunoprecipitation assay for two main reasons! Very commonly, we use this assay in order to determine if two proteins are interacting with each other. When we pull one protein out of all the thousands of proteins in the cell, any other proteins attached come too. Then, we can use a Western Blot to visualize the two proteins.
Sometimes, we also use this technique to determine if a protein has been tagged by the cell in some way. Just like a new shirt has a tag to tell you all the information about the shirt, like the size, brand, and price, proteins have tags that allow the cell to identify them. These tags also help the proteins to do their specific jobs. When you pull a protein down in a co-immunoprecipitation, the tags are also pulled down and can be identified by Western blot.
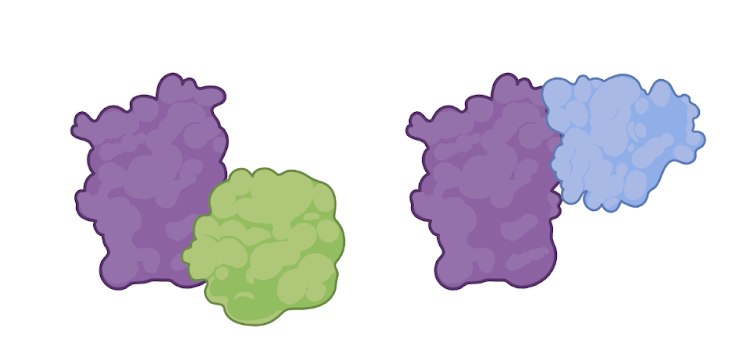
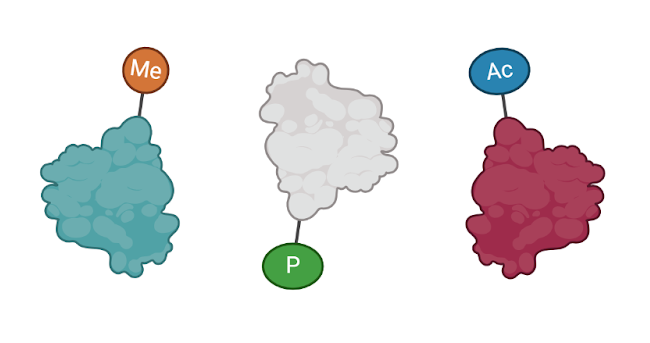
Figure 1: The proteins on the left are interacting with each other. We can detect these interactions in a co-immunoprecipitation. The proteins on the right all have different tags. We can detect these tags too! (Figure created in Biorender by author.)
Ultimately, the whole point of this technique is to understand better how proteins work within the cell. Are there two proteins working together? We want to know about it! Does a particular protein have a unique tag that helps it perform better? We want to know that too! Altogether, this helps us understand the way that the cell is working.
How does it work?
First, the prep work:
- Get your cells ready! You have to have a lot of cells ready for this experiment. We get them prepared by counting the cells into dishes and giving them lots of cell food – called cell culture media – so they are happy and ready to go.
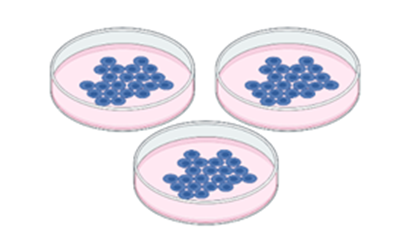
Figure 2: Cells are plated in dishes with cell culture media. (Figure created in Biorender by author.)
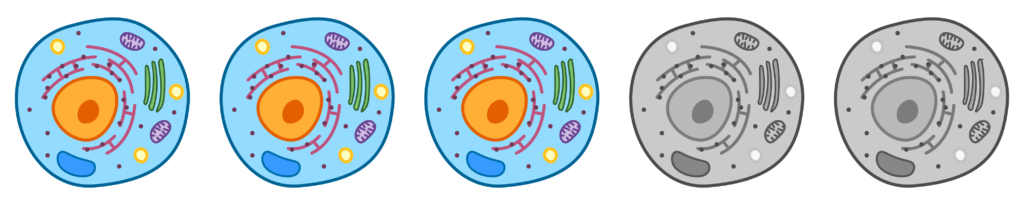
- Once the cells are ready, we collect them into tubes and break the cells apart using what is called a lysis buffer. When you lyse cells, you cause them to burst open – that is the goal of this buffer. After adding the lysis buffer, you end up with a tube containing all the different parts and pieces of all the cells all mixed together. This way, the proteins we want to grab and pull down are free of the cell membrane and accessible for the next steps.
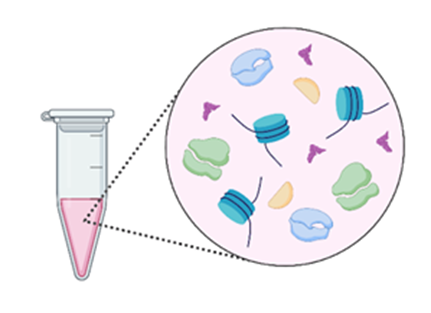
Figure 3: The lysis buffer causes the cells to burst open, and all the different pieces and parts of the cell, including the proteins, are set free. (Figure created in Biorender by author.)
Next, we do the pulldown:
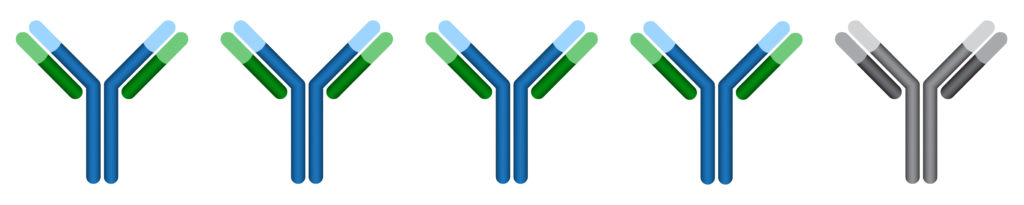
- Antibodies are found in our body and are very good at finding and tagging things. Because of that, scientists make and use antibodies to tag things they are interested in. In this assay, we next add antibodies to tubes containing our broken-up and mixed-up cells. The antibodies will float around through the liquid and attach themselves to whatever protein they were created to tag.
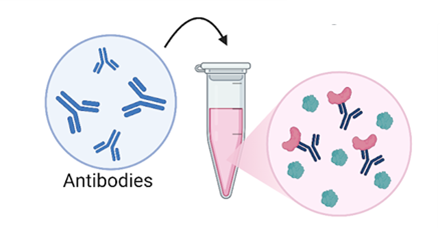
Figure 4: Next, we add our antibodies to our mixture of broken-up cells. The antibodies attach to the protein that they were created to find. (Figure created in Biorender by author.)
- Antibodies aren’t very big, so we can’t just directly pull out the antibody and the proteins. We need an in-between step! That step is to add some tiny, tiny beads to the mix. These beads are made to act like big balls of tape – they trap and stick to all the antibodies they come into contact with – this traps the proteins we want to see, too!
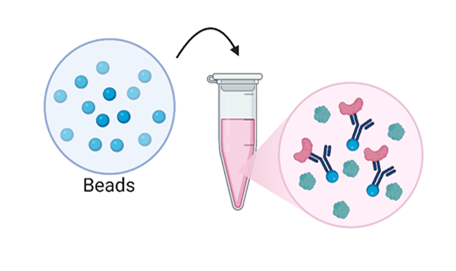
Figure 5: Then we add our beads. The beads stick to and trap the antibodies. (Figure created in Biorender by author.)
- The beads add enough weight to the protein and antibody duo that we can next simply use a centrifuge to spin down our mixture and all of the beads (and all the antibodies and proteins) spin down to the bottom.
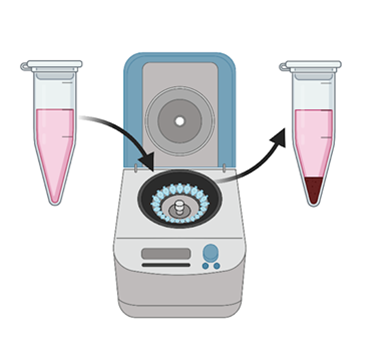
Figure 6: Next, we spin down our samples in the centrifuge. The beads are large enough to spin to the bottom, pulling the targeted proteins with them. (Figure created in Biorender by author.)
Then, we prepare the samples for Western blot:
- The spinning down gives us a sample that should have only the protein we are interested in and the other proteins or tags attached to it. But, our sample might have gotten other cell pieces and parts trapped between the beads or proteins. Just to be safe, we next wash the beads a few times to clear out everything that isn’t our protein of interest. Washing involves removing everything that isn’t the beads from our tube, adding more of our original lysis buffer, and spinning the tube again. These steps can be repeated a couple of times.

Figure 7: The wash steps involve removing everything except the beads, washing with more lysis buffer, and spinning down. (Figure created in Biorender by author.)
- After we are sure that our sample is as pure as possible, it is time to pull the proteins off of the beads. During the wash steps, the protein we wanted to see was kept safe by the antibody and bead it was stuck to, but now it needs to be set free so that we will be able to see it in a Western Blot! To remove the proteins from the beads, we add another buffer, this one called a Laemmli buffer, and some heat. Together, the new buffer and the heat force the proteins off the beads and into the buffer where they are freed and ready to be identified in a Western blot!

Figure 8: Once the Laemmli buffer is added, the samples are ready! (Figure created in Biorender by author.)
Lastly, run the Western Blot!
- Western Blots are made to identify proteins and their tags. In this Western Blot, we first will look for the protein that we pulled down with the antibody. Then, we will look for anything we think might have been attached to that protein – another interacting protein or a protein tag.
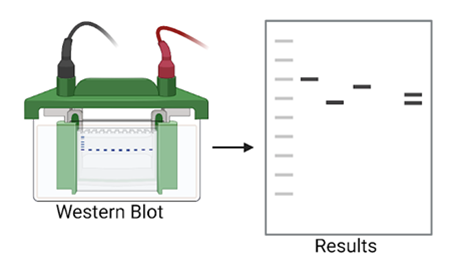
Figure 9: The Western Blot causes all the proteins to separate out into bands. Then we can detect them. (Figure created in Biorender by author.)
- Finally, we draw conclusions from our findings! Did our protein interact with another one? What does that mean? Did our protein have a unique tag? What could be its purpose? The answer to these questions helps us better understand how the cell, and ultimately the body, works!
